Steps to add a new blog post to your current PMW website
After you login
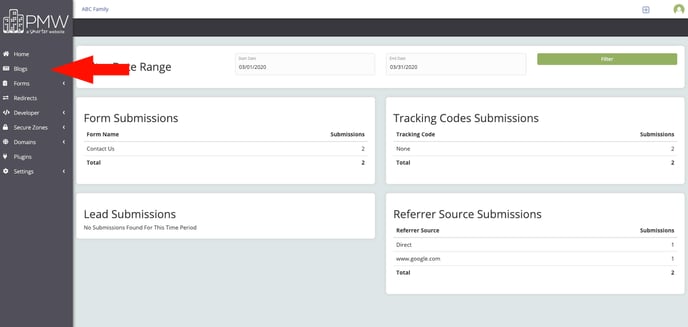
1. Click Blogs
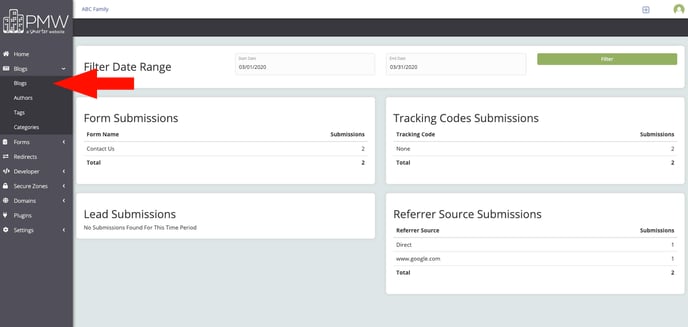
2. Click the second drop down Blogs
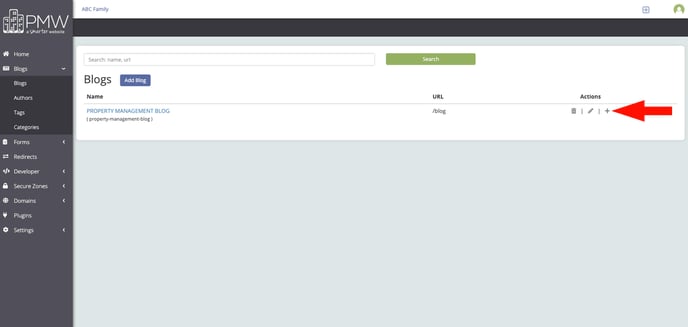
3. Click the + sign at the far right of the page to start a new blog post
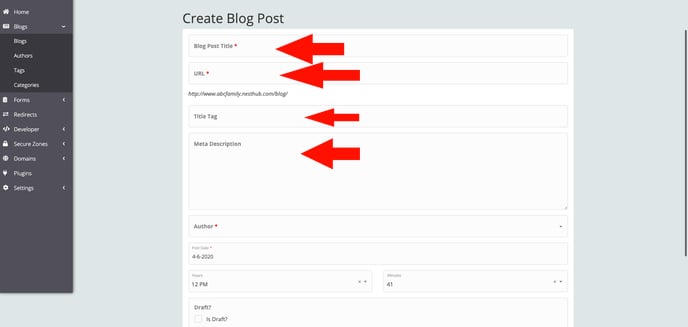
4. Title = Blog Title
URL - Should auto fill for you
Title Tag: Should be the same as the title above
Meta Description: Two sentence synopsis of your blog post or take the 1st two sentences of your blog post
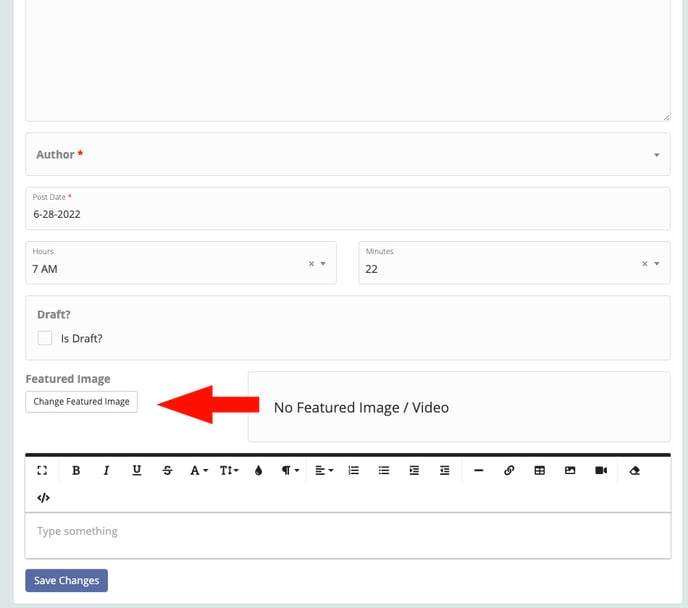
5. Featured Image (optional) - you can add a featured image or video (YouTube ONLY) to your blog post.
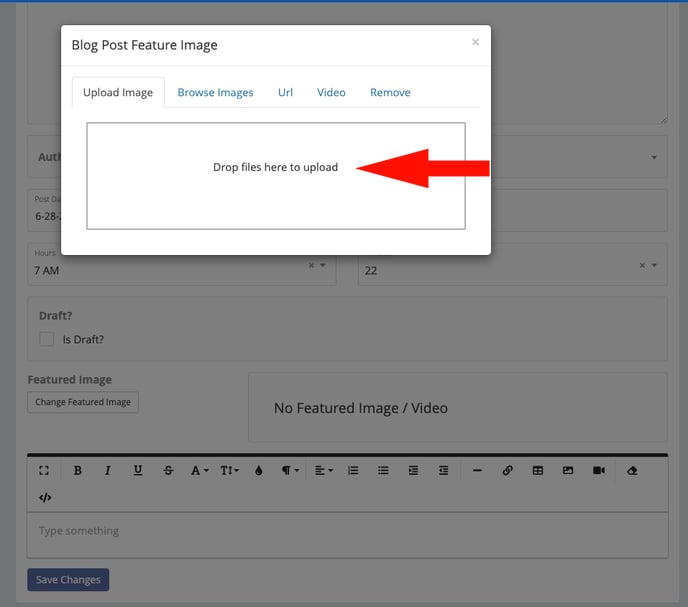
6. Featured Image - You can drop files from your computer or click in the area with the area to have an upload window for you to choose your file. We recommend an image that is at least 500px wide and no more than 2000px wide. Our system will adjust the size to fit the blog area. Make sure that your image file name has NO Special Characters and is a .jpg or .png file type.
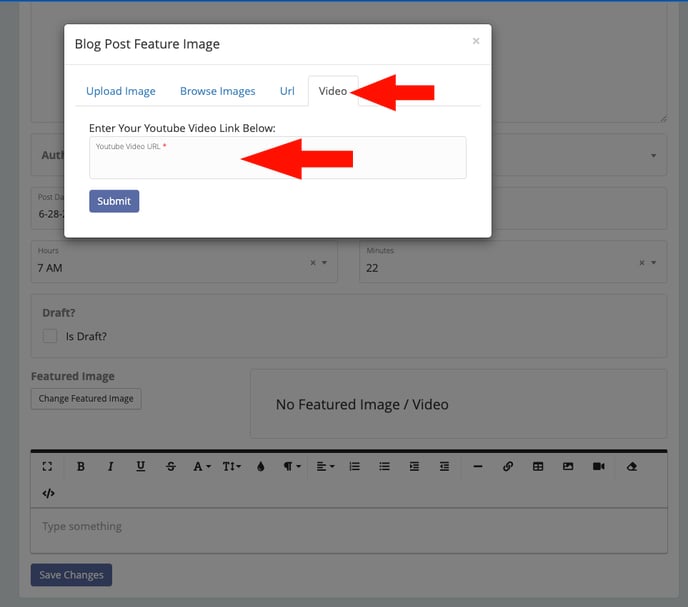
7. Featured Video - First click the Video Tab in the Featured Image popup, then put your YouTube link in the area below to have the YouTube video show on your blog post.
8. Blog Post Content - Either type or copy and paste from a word document your blog post into this section. The tools are similar to using Microsoft Word.
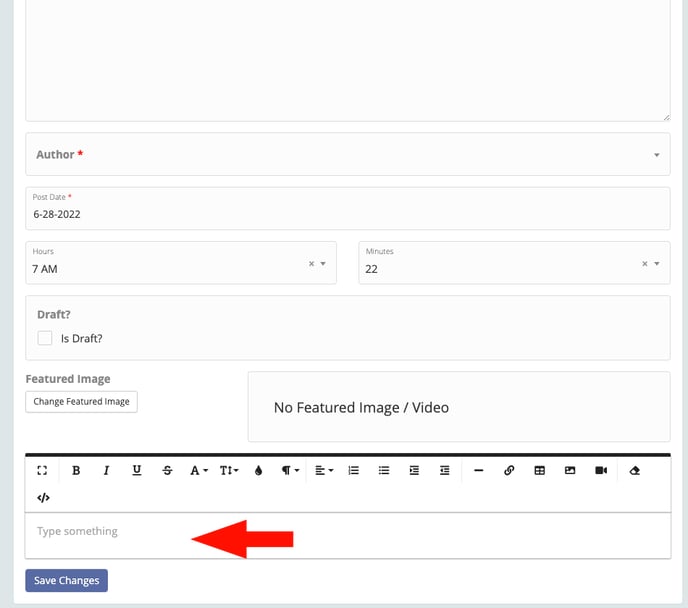
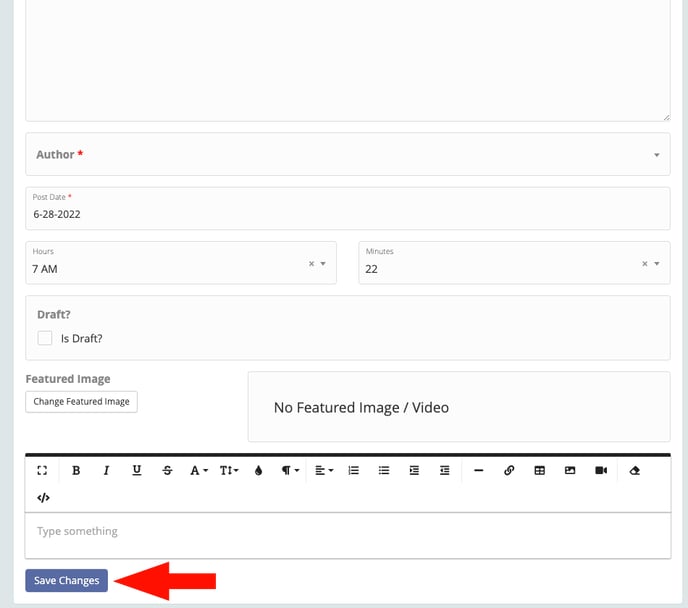
9. Save - Once you have your Title Tag, Meta Description, Featured Image (optional) and Blog content into the content section and styled to your liking. Click Save Changes.
